
In this tutorial, I guide you on how to install PHP and Composer on Windows 10 for use in a command prompt like CMD or PowerShell.
Introduction

Even though PHP is slowly fading in popularity right now, it is still quite a popular backend language for web-based projects. Building web-based projects like websites or web applications is not an easy task when you deal with a bunch of different libraries. Sometimes things get out of hand and get super messy, and that’s when we start to look for solutions. One of the most straightforward solutions is to use a dependency manager like the Composer, which helps you to tide that mess.
Also, installing PHP and Composer globally on a command prompt might be useful when dealing with smaller projects. The primary reason for that is the built-in web server in PHP, which means you don’t need to deal with software stacks like WAMP and XAMP, docker containers, or massive virtual machines.
What is Composer?
Composer is a dependency manager for PHP programming language, which is strongly inspired by the npm package manager. Composer provides a convenient way to manage your PHP project needs. You declare libraries ( dependencies ), and then you install them with composer install.
Libraries are installed locally inside the vendor directory, and they usually are managed on a per-project basis.
However, if you prefer, there’s a way to install your libraries globally, but it is usually considered a bad practice unless you know what you are doing.
Let’s Start!
Install PHP on Windows
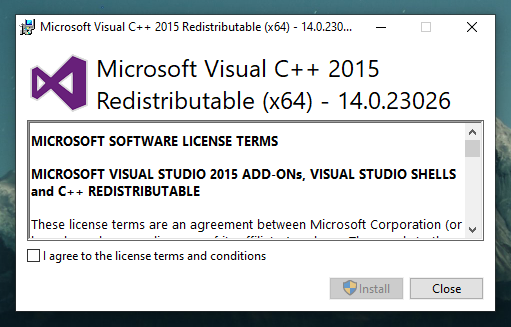
To install PHP on Windows, first, let’s start by installing the Visual C++ Redistributable for Visual Studio 2015. We need Visual C++ to make sure the PHP command-line works fine. Otherwise, you might encounter this error message “VCRUNTIME140.DLL was not found“.
Next, download the PHP command-line tool for Windows right here. I chose to use a 7.3 Non-threaded version, which, in theory, should be a little bit faster. Extract the files here C:\Program Files\PHP\7.3.
Configure PHP
Head to the extracted directory and find the php.ini-development file and open it with your favorite code editor. I love to use Atom or PHPStorm.
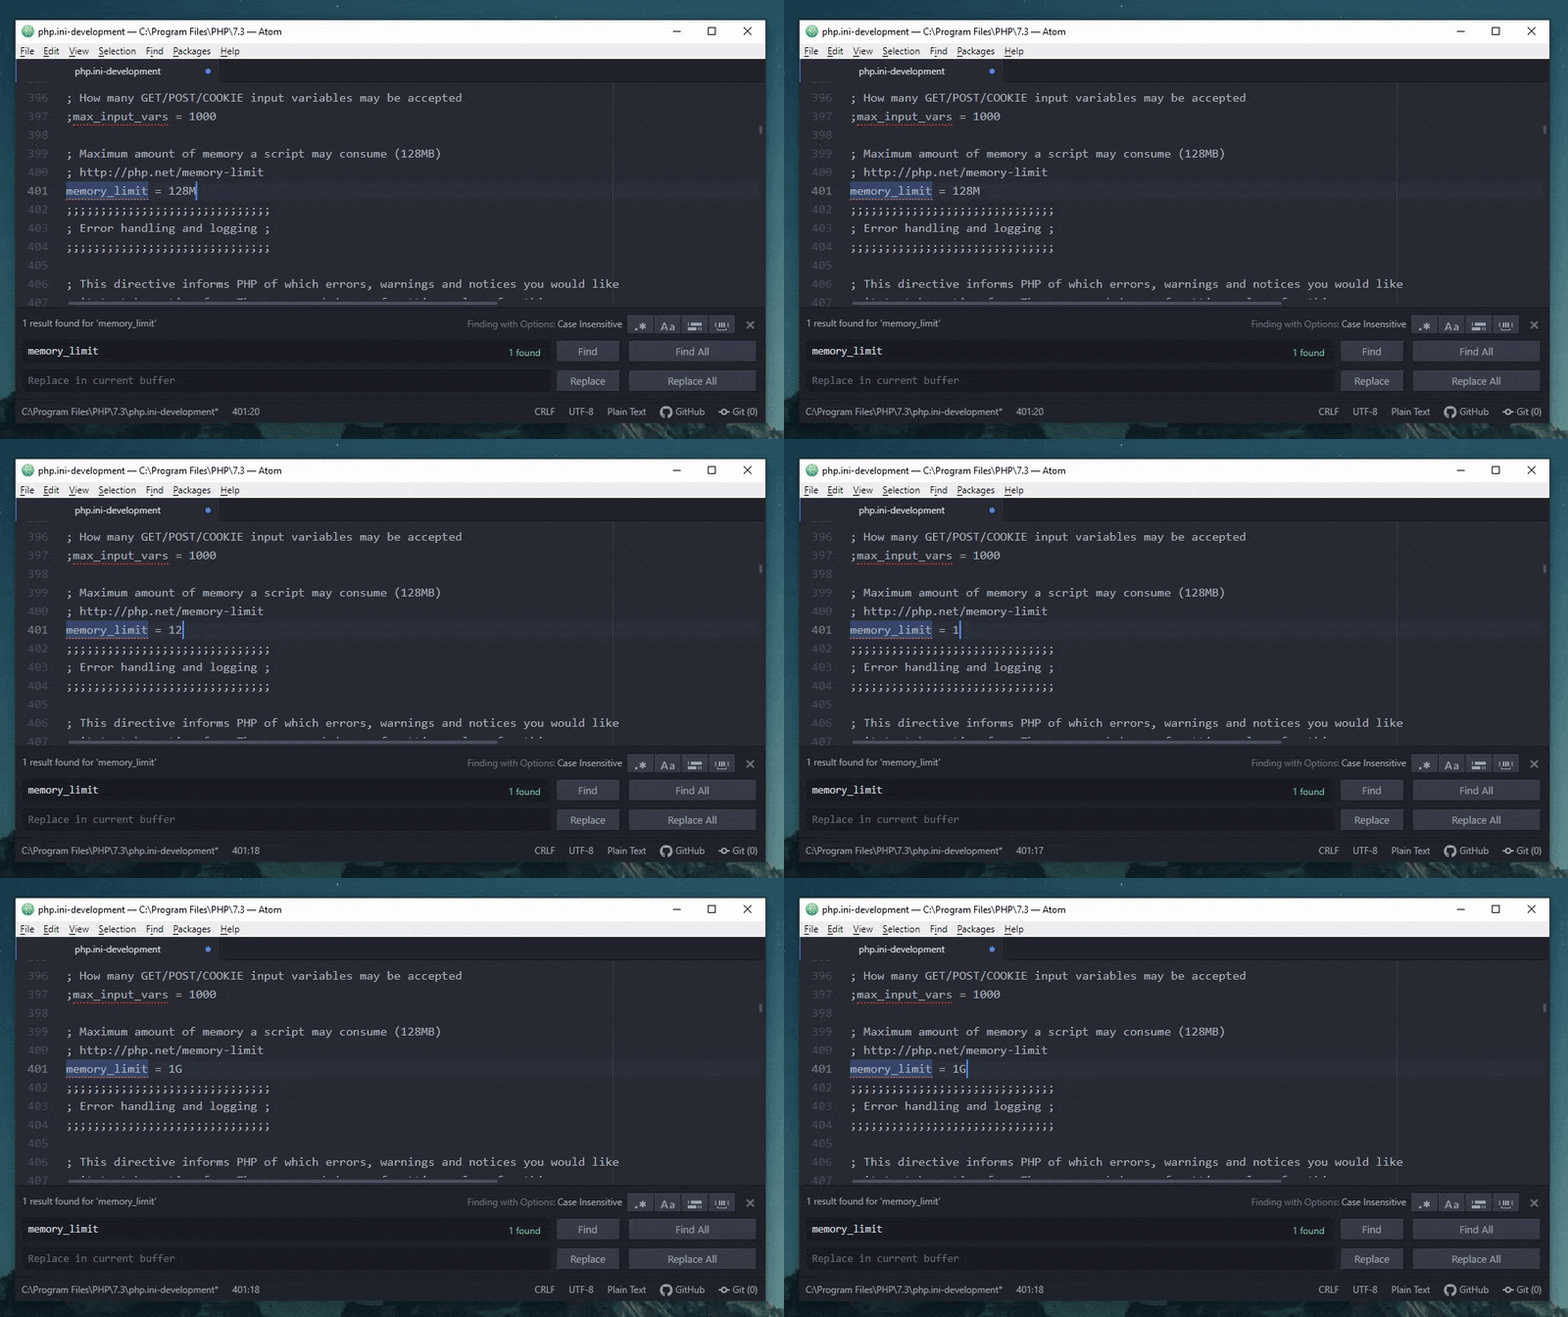
Find the line with memory_limit and change to 1G. If you don’t have a lot of RAM, then try 512M. However, Composer can use a lot of RAM, so I highly recommend using more memory.
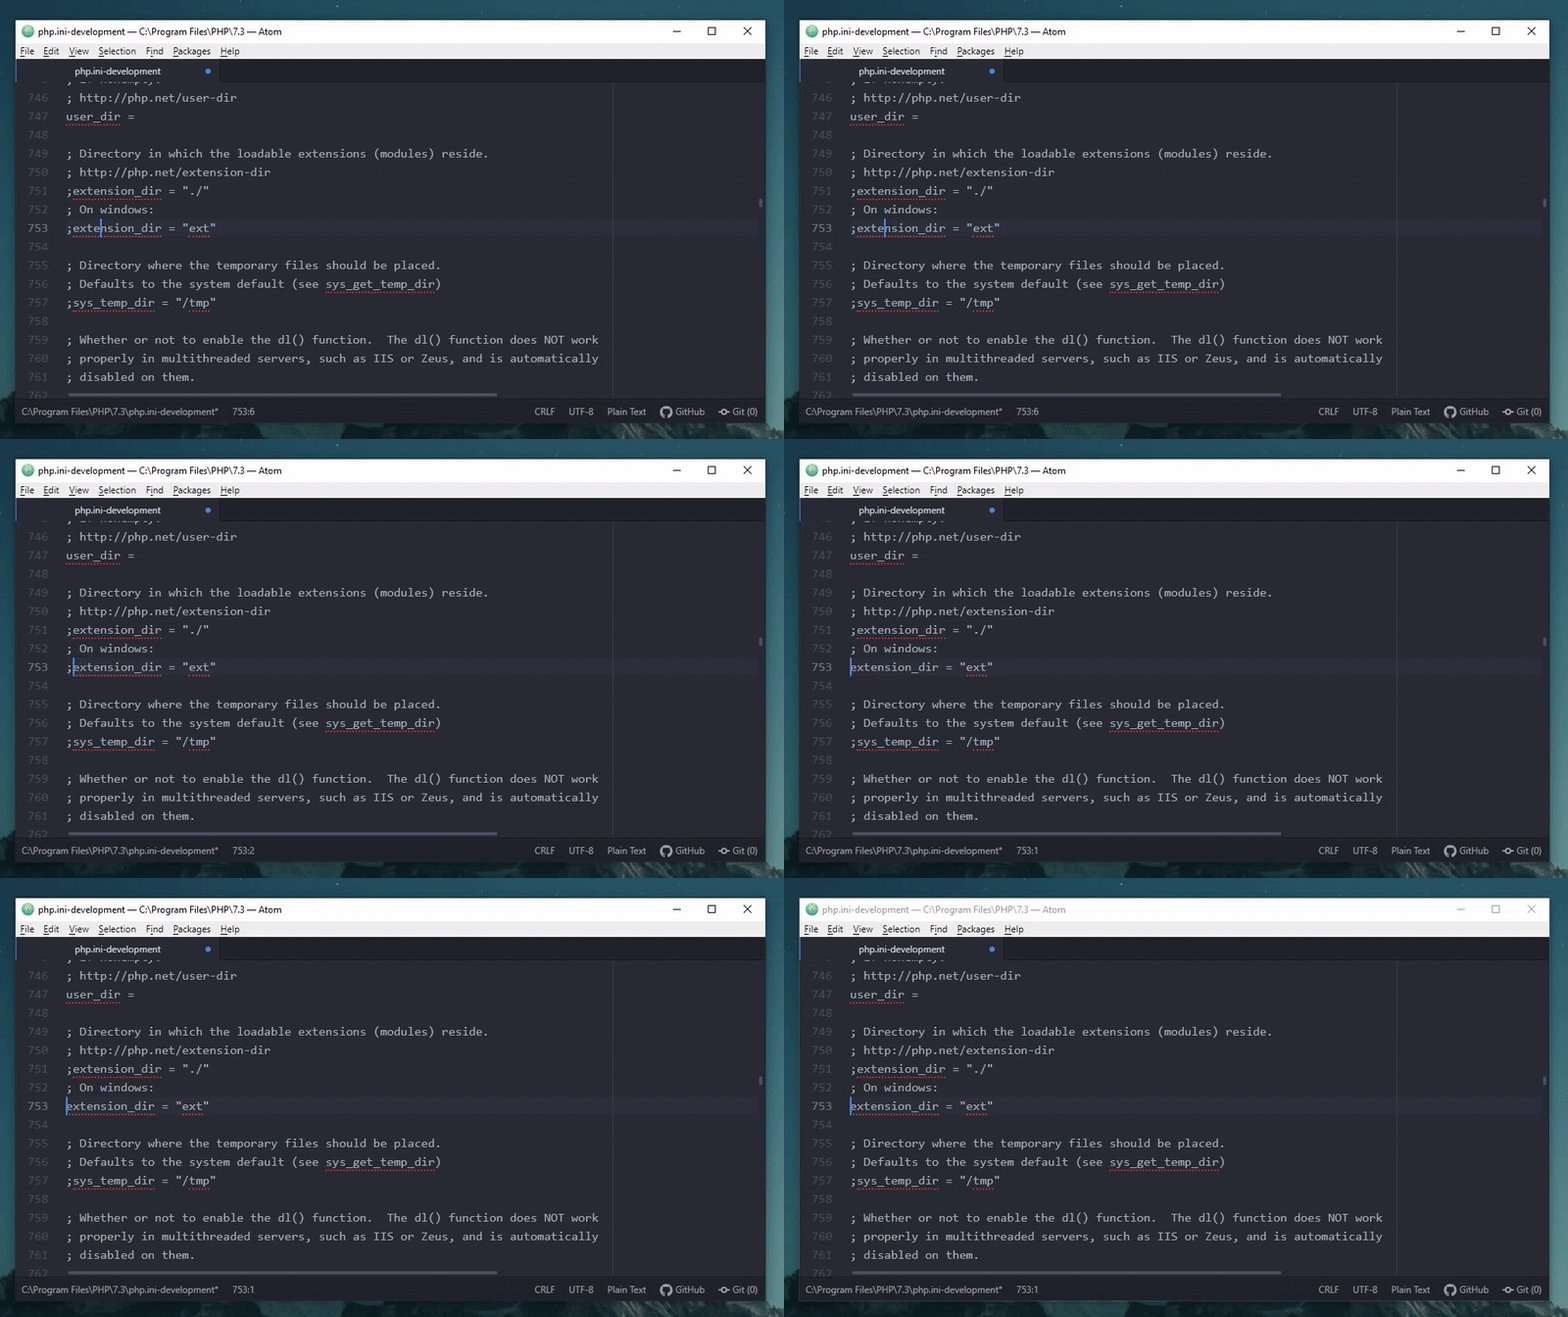
If you are planning to use PHP as a built-in web server, then you might need to load some of the PHP extensions. Scroll down to extension_dir = "ext" and uncomment this line.
After that, find the extensions section and uncomment ones that you are planning to use. If you are not sure what you need, then use my example.
extension=curl
extension=gd2
extension=mbstring
extension=openssl
extension=pdo_mysql
extension=pdo_sqlite
The next step is to add the PHP to your Windows Environment. Go to System Control Panel -> Advanced System Settings -> Environment Variables -> Path -> Edit -> New and add the row C:\Program Files\PHP\7.3 -> Click OK and exit.
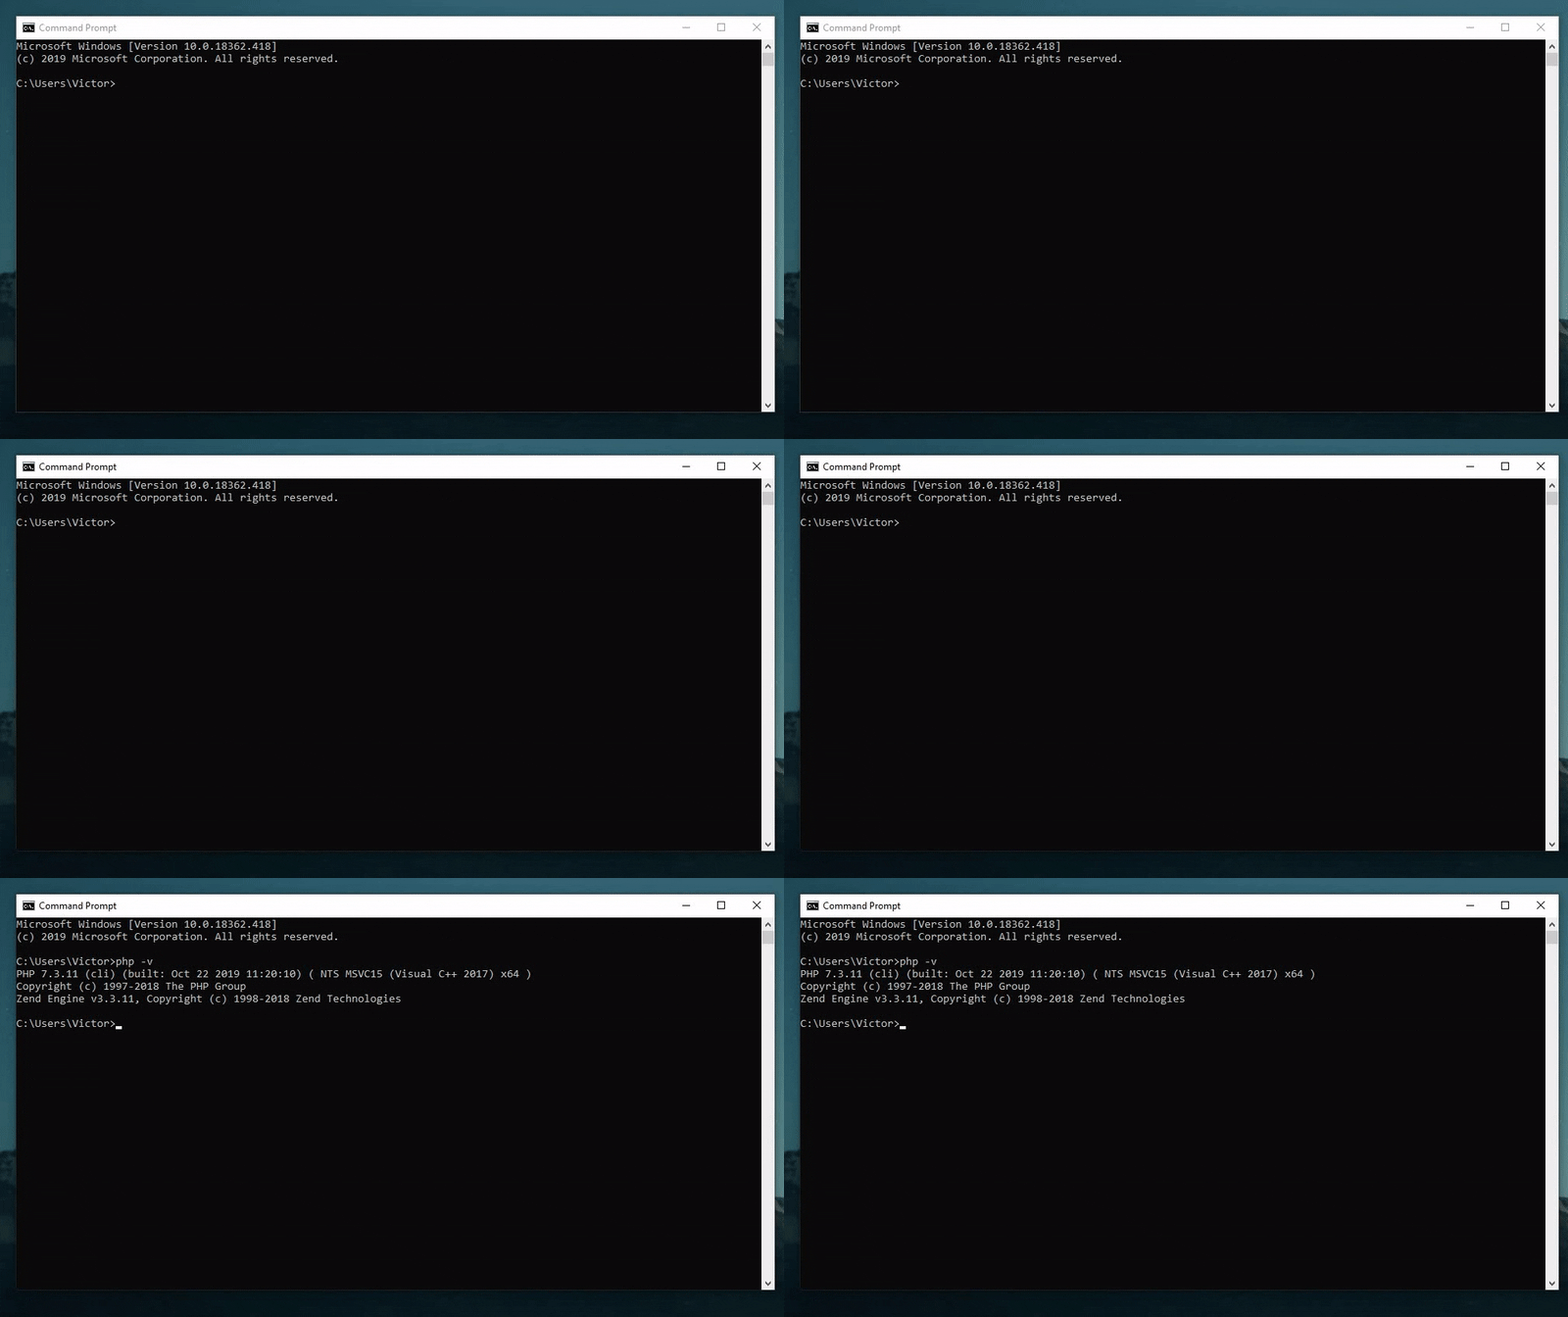
Open your CMD or PowerShell and write php -v . If everything went fine, you should see something similar.
Install Composer
To use Composer inside the CMD or PowerShell, we need to install it. Go to https://getcomposer.org/ and download the Composer, then follow the setup, which should ask you to set up your PATH for PHP. Open the CMD or PowerShell, write composer inside the terminal, and you should get something like this.
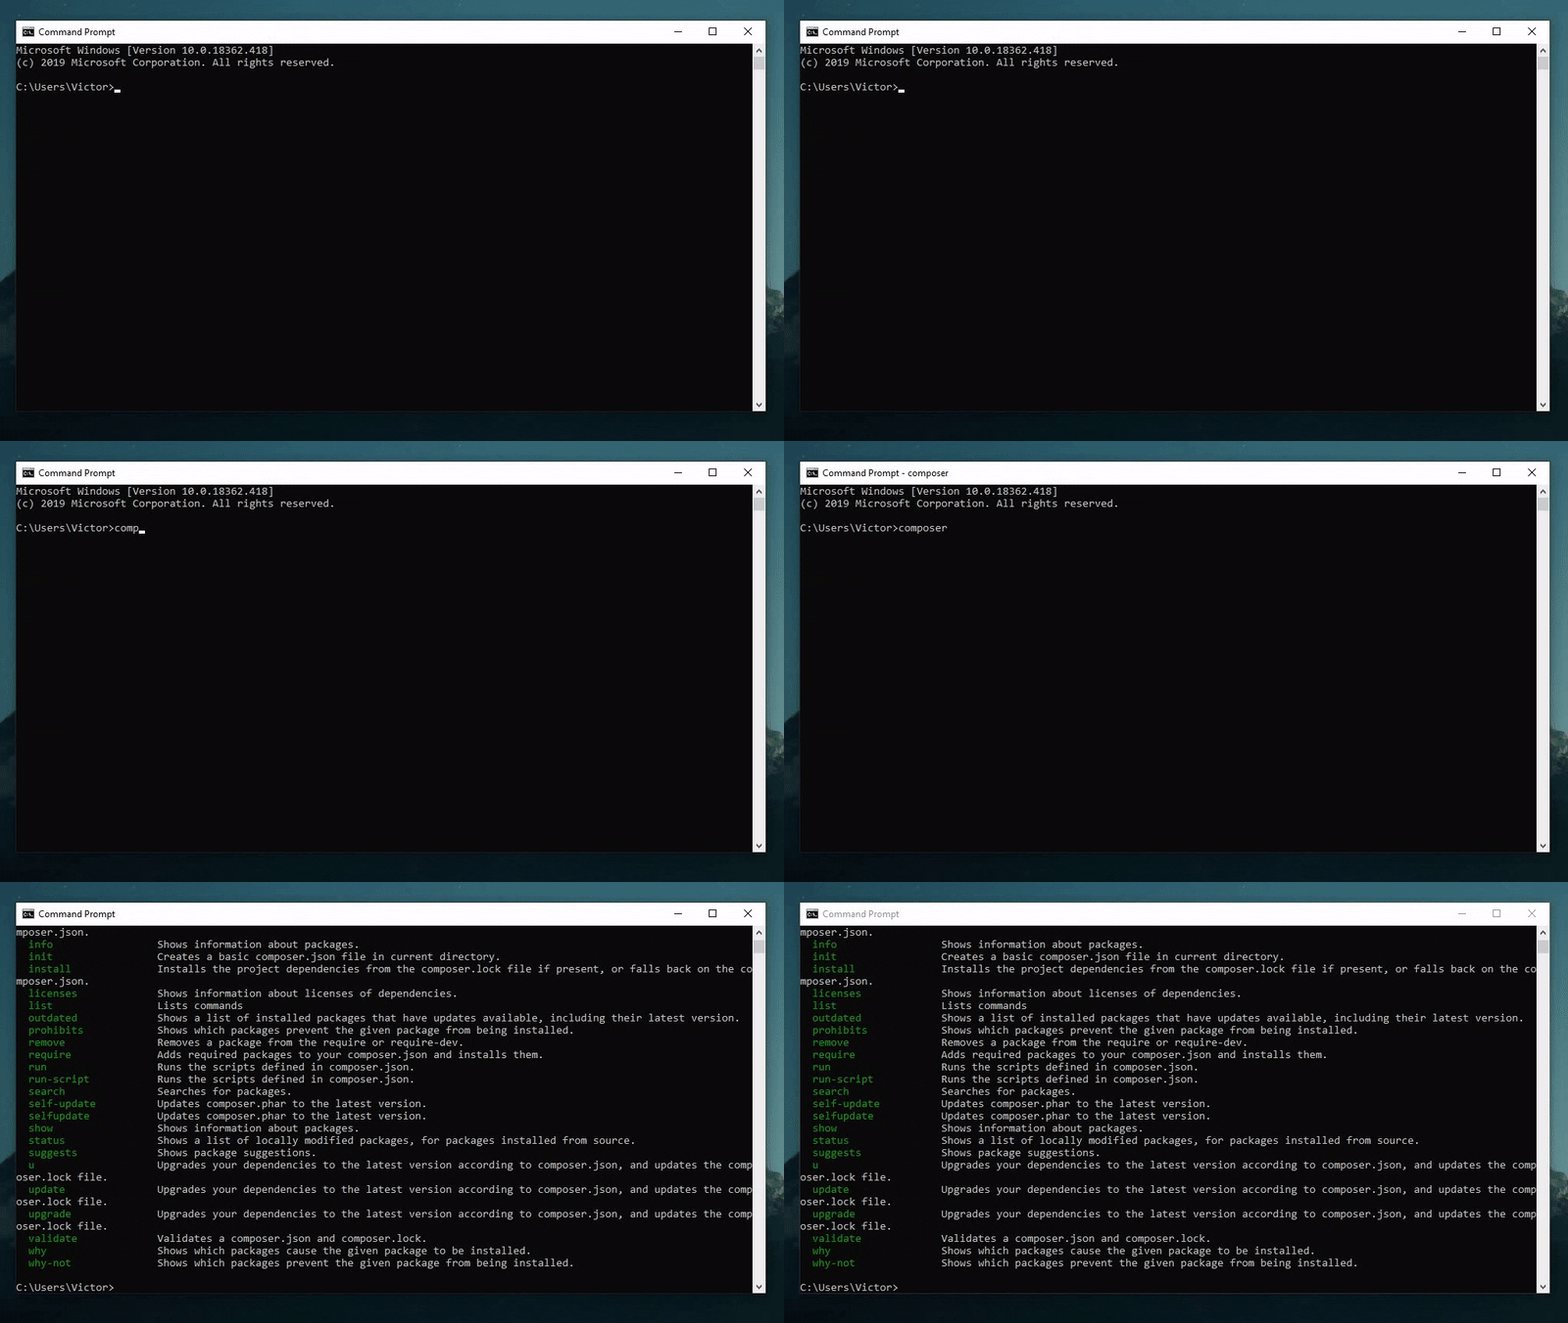
If you are getting this, then it means you have successfully installed Composer.
How to use Composer
Create an empty directory, go inside, and write composer init and go through the setup. You need to define some basic things like the package name, author, license, and project dependencies. After the setup, you can find all of your dependencies inside the vendors folder.
By the way, this is how my composer.json file may look like on a Laravel project:
{
    "name": "laravel/laravel",
    "type": "project",
    "description": "The Laravel Project.",
    "keywords": [
        "framework",
        "laravel"
    ],
    "license": "MIT",
    "require": {
        "php": "^7.1.3",
        "fideloper/proxy": "^4.0",
        "laravel/framework": "5.7.*",
        "laravel/tinker": "^1.0",
        "pusher/pusher-php-server": "~3.0"
    },
}
When starting fresh from the cloned repository, use composer install. This command installs all of the necessary dependencies inside the vendors folder. You also might use composer update to update your dependencies.
That is just a basic example, and if you would like to dive deeper, there’s a great guide written by the Composer creators – Basic usage – Composer. Good luck!
Composer Cheatsheet
| composer install | Downloads and installs all the dependencies described in the composer.lock or composer.json files. |
| composer require vendor/package | Adds the package to composer.json and installs it |
| composer update vendor/package | Updates package from vendor/package. Use composer update to update all of the packages. |
| composer remove vendor/package | Removes package from composer.json and uninstalls it |
References
- Official documentation – https://getcomposer.org/doc/00-intro.md
- Composer Cheatsheet – https://devhints.io/composer
- Dac Chartrand – http://kizu514.com/blog/install-php7-and-composer-on-windows-10/
- Jeff Geerling – https://www.jeffgeerling.com/blog/2018/installing-php-7-and-composer-on-windows-10

1 reply on “Install PHP and Composer on Windows 10 for Use in CMD or PowerShell”
This is a useful article. By studying this, I can enrich my knowledge.
Your idea is really outstanding. Thank’s toshare withe us such an important matter.
King regards,
Balle Zacho